The tulips are now fully up in our garden. We have lots of different pinks/purples - from really dark through to delicate hues. In this blog I`m offering a few simple ideas for making the most of your tulips - whether you`ve grown them in your garden or found them in the supermarket. I like to place single tulips in a collection of glass bottles. In this example I`ve set them up along the dinner table, mixing up the heights of the bottles and the tulips. Some of the bottles are old ones, picked up from junk shops and some are modern ones - they originally contained bubble bath or gin! (tip: make the water the same height in each bottle and make sure the stems reach the bottom of each bottle - this gives a consistent feel across the different shapes/heights of both bottles and tulips).


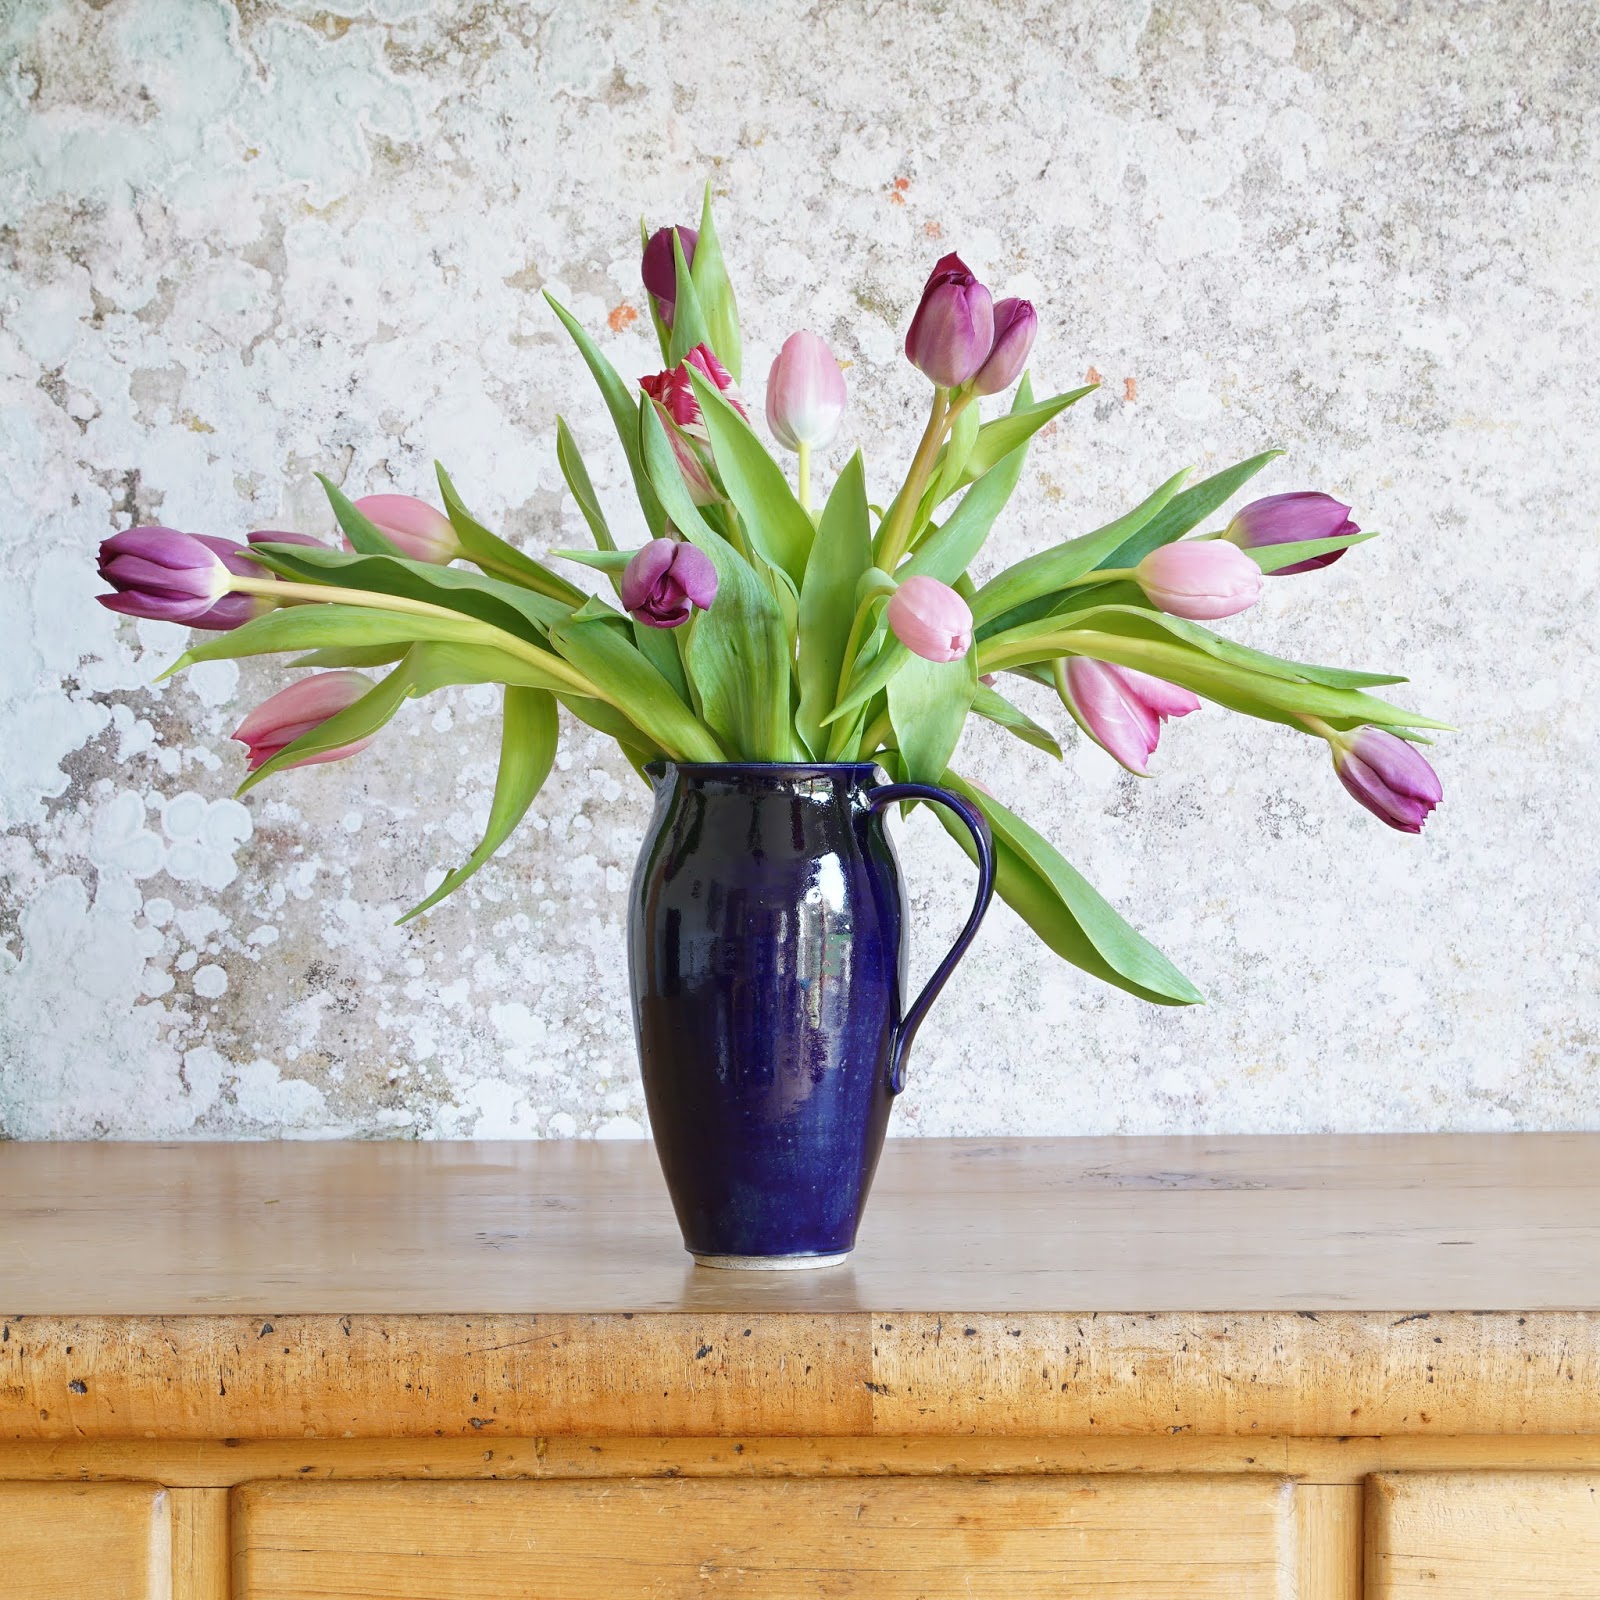
Have you noticed that tulips continue to grow after you`ve put them in a container? Sometimes by as much as 2 inches! You have to take account of this when you decide what to do with them. It can be easiest to just use tulips on their own - at least they all grow together at the same pace instead of sticking their heads up above the other flowers in the vase. After I moved these bottles from the table to the sideboard, they had grown more than an inch (as well as opening up) in two days.
If they grow much more, tomorrow I will cut a couple of inches off the bottom of each stem. The great thing about bottles is that they hold the stems in place really well because the necks are narrow. Once you place a lot of tulips in a vase with a wide neck something very different happens.
I quite like this relaxed look, but I think something more pleasing happens when you place the same tulips in a tall vase with a narrow-ish neck. The neck holds the tulips in a more upright position, though this is still a pretty informal look.
You can create a completely different, more contemporary look by holding the tulips in place with a grid made of sellotape. For this I have used a 14 cm glass cube vase. I made a grid with sellotape across the top of the vase, using three pieces of tape from left to right, and three pieces from top to bottom, creating 16 small square spaces. Then I picked 16 tulips from the garden - three different pink/purples and a few contrasting yellows. I took off all the leaves and cut all the stems to the same length so the tulip heads sat on the sellotape and the stems reached the bottom of the vase (tip: add the water before attaching the sellotape).


I have placed the tulips in four groups of four, working with the symmetry of the vase. I really don`t want these tulips to start wafting about above the sellotape, so once they start to grow I will cut the stems back. I have then used the same grid technique (again making 16 small square spaces) with the same tulips to create a very different effect in a traditional, ceramic pot. This time I have mixed the tulips up and also added a bit of foliage - about 6 pieces around the edge of the vase and about 5 pieces in the middle - this softens the look. The foliage can be slipped in with the tulips in the square spaces. I used sarcoccoca, a shrub which thrives in a shady part of our garden, but you could use anything you can lay your hands on - euonymus, hebe, ivy, box....(tip: make sure you strip off any leaves which would sit below the sellotape, otherwise you will have difficulty getting them into the small spaces along with the tulip stems).


Another idea for holding the tulips in place is to tie them. In this first example I`ve taken a large bunch of tulips and tied them with brown garden twine. This will keep the heads reasonably together and stop the tulips flopping (tip: tie the twine carefully so that it looks neat and make sure it sits well above the water line, otherwise it will get soggy and look unsightly).
Another variation on this approach is to use a rectangular vase and divide the tulips into three bunches which are then tied (tip: keep the heads fairly near the top of the vase so you get a massed effect of tulip heads).
Finally, another way to hold the tulips in place is to start with a base of foliage and then add some other flowers as well as the tulips. In this example I have kept to a monochromatic use of colour with a light shade of mauve for the hyacinths and a dark shade of mauve for the tulips. The mauve is also picked up in the vase (tip: cut the tulips to different heights so the eye is drawn from the top flower down to the bottom one).
I hope this has given you a few easy ideas to make the most of your tulips. Bringing spring flowers into the house is always a joy and I find that doing something with flowers takes my mind off all the dreadful stuff going on in the world at the moment and makes me smile - both in the doing, and in the finished outcome.