Thursday, 28 February 2013
February Wedding Fayre
February is a difficult months for flowers – the supply of English flowers is limited (though lovely) and people aren`t really ready to think about flowers when snow and ice are still lying on the ground. But I`ve been motivated to do a lot this month as I was working up to my first wedding fayre which took place last weekend. This is an event marketed to potential brides where all kinds of suppliers, from vintage cars to bespoke wedding gowns, show off their wares. I was allocated a table to sell ‘Meadowsweet’ and I wanted to show what I could do with fresh English flowers and foliage in February. I decided to use reds, yellow and orange for one set of arrangements (red anemones, orange alstroemeria, yellow narcissi and a few white narcissi). I made a couple of arrangements in Heron Cross jugs and three small arrangements in vintage cups and saucers (especially pretty I think).
Then I made a second set of arrangements in a different range of colours – blue and pinks, with quite a lot of white (blue anemones, pink alstroemeria, pink tulips and white narcissi). Again, I used a couple of Heron Cross jugs. Then I decorated jam jars in lovely vintage paper that I found in Hay-on-Wye and pretty blue-grey ribbon for the three small arrangements.
In preparation for the fayre Jessie had made postcards for me to promote my products – weddings, workshops and bouquets. She also designed a portfolio for me to show case weddings and associated products. I set up my table with the arrangements I had made and the postcards, and I placed a slide show of wedding pictures in the middle (this ran all the time on my computer – hopefully to catch people’s eyes). Then I had the portfolio ready to show to people.
There was a steady trickle of interest (though not a rush) and I gave away a lot of wedding postcards….I will have to wait and see if any convert into real interest. I was really pleased to get one definite booking to make jam jar table arrangements for a special birthday celebration in May. I was also pleased to make contact with one or two other suppliers whose services are complementary to mine – in particular the gorgeous vintage wedding stationery produced by Claryce Design and the splendid vintage volkswagens supplied by Vintage VolksWeddings. It was also good to catch up with an old friend who did the same floristry course as me and who is now working with a professional florist. After the wedding fayre I used up my surplus flowers and foliage to make a couple of simple arrangements in some of my large vessels. Here they are next to our new veranda!
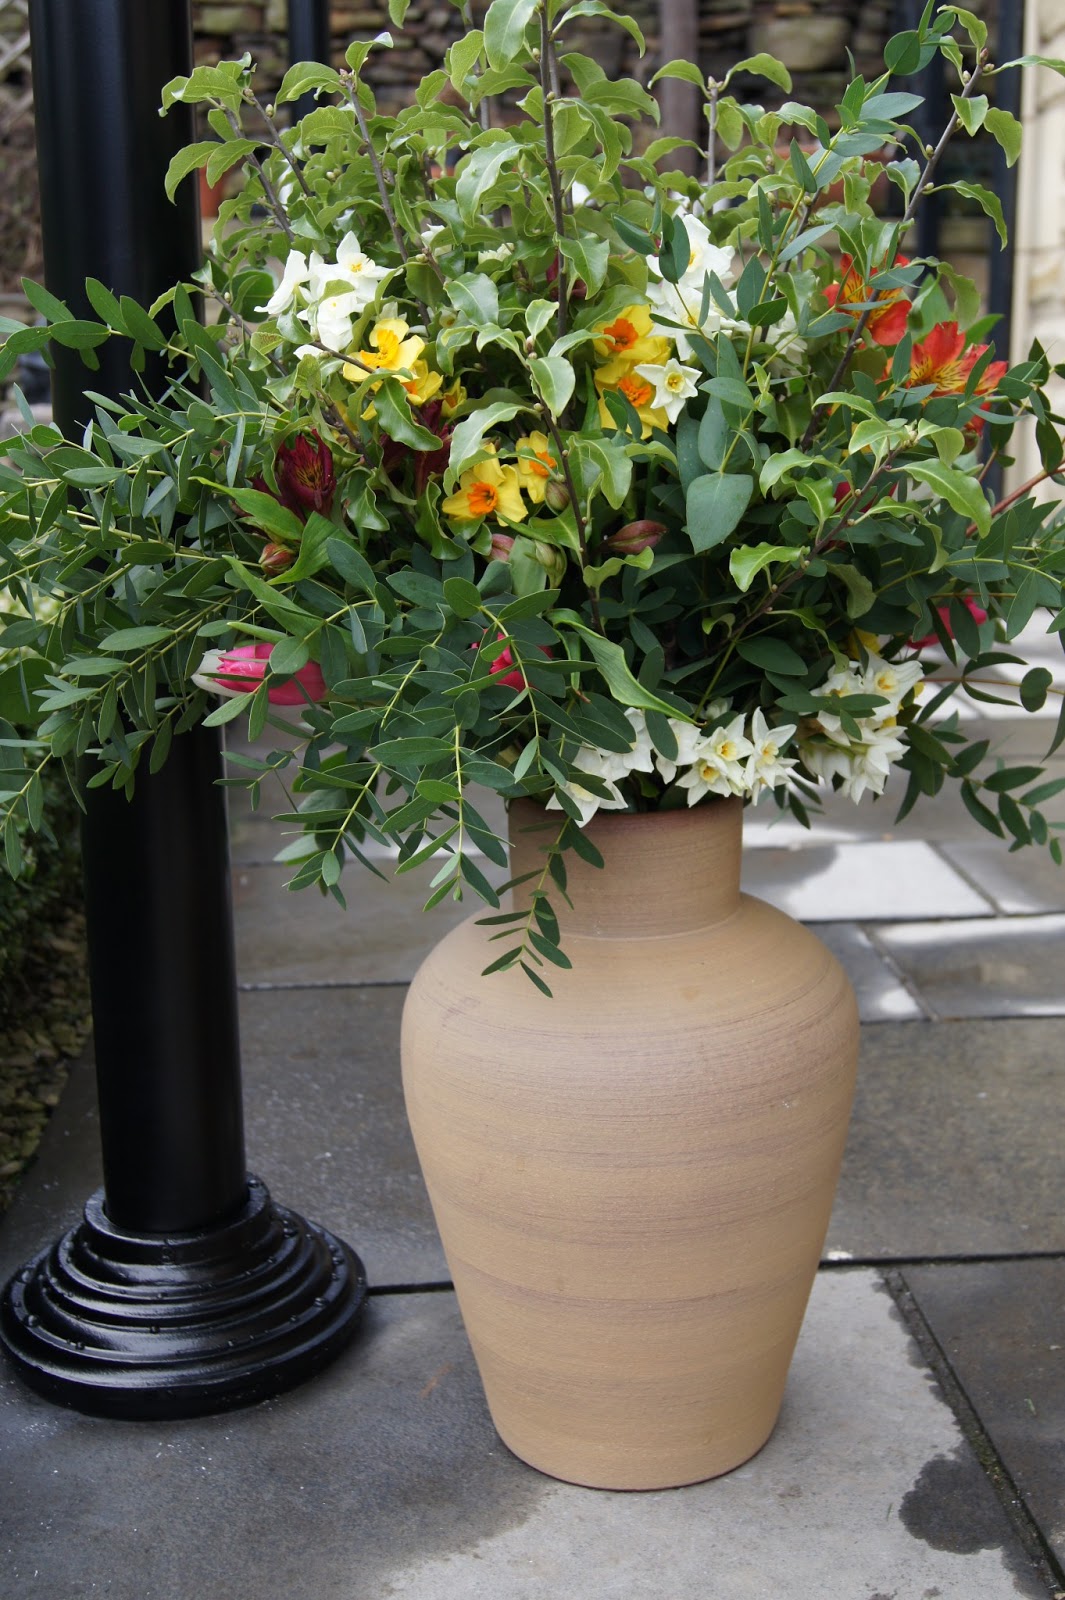
A couple of weeks ago Jessie and I visited the Garden Museum in London (some interesting stuff and a peaceful location in an old church). I noticed some inspired, but uncomplicated use of daffodils in a large urn just outside the museum. It gave me the idea to make this simple arrangement in a small urn. Next week I am visiting my friend Judith in Oxford and we are going to a lecture by the Director of the Garden Museum. His talk has the title: ‘Floriculture: flowers, love and money’ and it is based on the exhibition about the history of the cut flower trade in Britain which has just opened. I will be interested to see what sources he is drawing on as I am finding the floristry industry pretty difficult to research as so little has been written about it…more about this later. I am working up to writing something myself.
Wednesday, 9 January 2013
Christmas and New Year
I hope you all had a great Christmas. Mine started with a bang on the Saturday before Christmas with a flower workshop. The little jam jar above is an example of what we made. I made green and red jam jars so that the workshop participants could choose either colour or a mix, depending on what matched their other Christmas decorations.
I had a delivery of lovely fresh English flowers and foliage from Cornwall for the workshop. We had pure white ‘paperwhite’ narcissi and bright yellow ‘hugh town’ and ‘soleil d’or’ narcissi – they all smelled wonderful. We also used some red alstroemeria to off-set the yellow and white and add a little festive cheer. The foliage was also fresh, vibrant and lovely to work with – myrtle, pittosporum and two sorts of eucalyptus (fantastic, heady smell). I added a few soft white roses from the Sheffield flower market to the mix. Then we used hand-tying techniques to arrange the flowers into three spirals and placed them in the jam jars. Hand-tying is one of the more difficult skills in floristry, but the good thing about this workshop was that everyone had three chances to practice it. And everyone learnt how to do it really well – what a success! Here are some of the results.
I was so busy running the workshop that I forgot to take photos of the participants in action. But here are some of the jam jars all bagged up at the end and ready to go…oh and there’s an example of one of the celebratory glasses of fizz that we drank at the end. Everybody had a good time and was really pleased with what they had achieved……and that made me very happy.
I also made a few bouquets – some for selling and some for giving as presents. I bought a few of these classy seasonal jugs from the Heron Cross Pottery – they worked really well with the flowers and I will buy more of them next year. Here is an example.
Over the last few years I have had a bit of a battle with Christmas wreaths. I`ve made them in oasis (which I have now rejected) and, in the traditional way, with wet moss as the base. I don`t really like either of these approaches as they produce a really heavy wreath that bangs about on your door and is likely to do permanent damage. This year I made a much lighter, but interesting wreath. I used twisted branches and ivy as the base and then I added dried flower heads from the garden (old man’s beard and hydrangeas) and a few dried seed pods and orange slices to decorate it. Some people loved it, but Jessie said it looked a bit Miss Haversham-ish….I expect you can see what she means. I am thinking of perfecting this approach and offering it as a wreath-making workshop next year – would anybody out there be interested in making something like this for Christmas 2013?
Another way of using Christmas wreaths is as table centres, usually including a few candles. When I wrote my blog last year I demonstrated this ingenious idea for making a wreath without oasis – two concentric metal circles which hold test tubes and incorporate candle-holders. The idea is to place little bunches of flowers in each test tube. Here it is set up with flowers and berries from the flower market.
And here it is with a few modest fair trade roses from the supermarket together with foliage and berries from our garden (total cost, less than £4!).
If you don`t want to spend much on flowers at this time of the year it is quite a problem as there is so little is growing for free in the garden (it is too early for crocuses, daffodils or hellebore). The one variety which is abundant everywhere is cyclamen. I have had three pots (white and dark pink) growing vigorously in our front porch since October. I have found that they last well in water – just a few with some sarcococca foliage and berries from the garden placed in small glasses made a natty little festive centre piece.
I am writing this blog on twelfth night. All the decorations have been taken down now and Mike and I are in our house in Hay-on-Wye doing a bit of maintenance before the next rental season begins. I have been out into the garden here and just look at this early harbinger of spring – catkins! I`ve put them in a plain glass vase in front of the fire (switched off as it is so mild) with some red skimmia and ivy (also from the garden). Simple, optimistic and bursting with life.
Tuesday, 6 November 2012
Autumn Flower Workshop
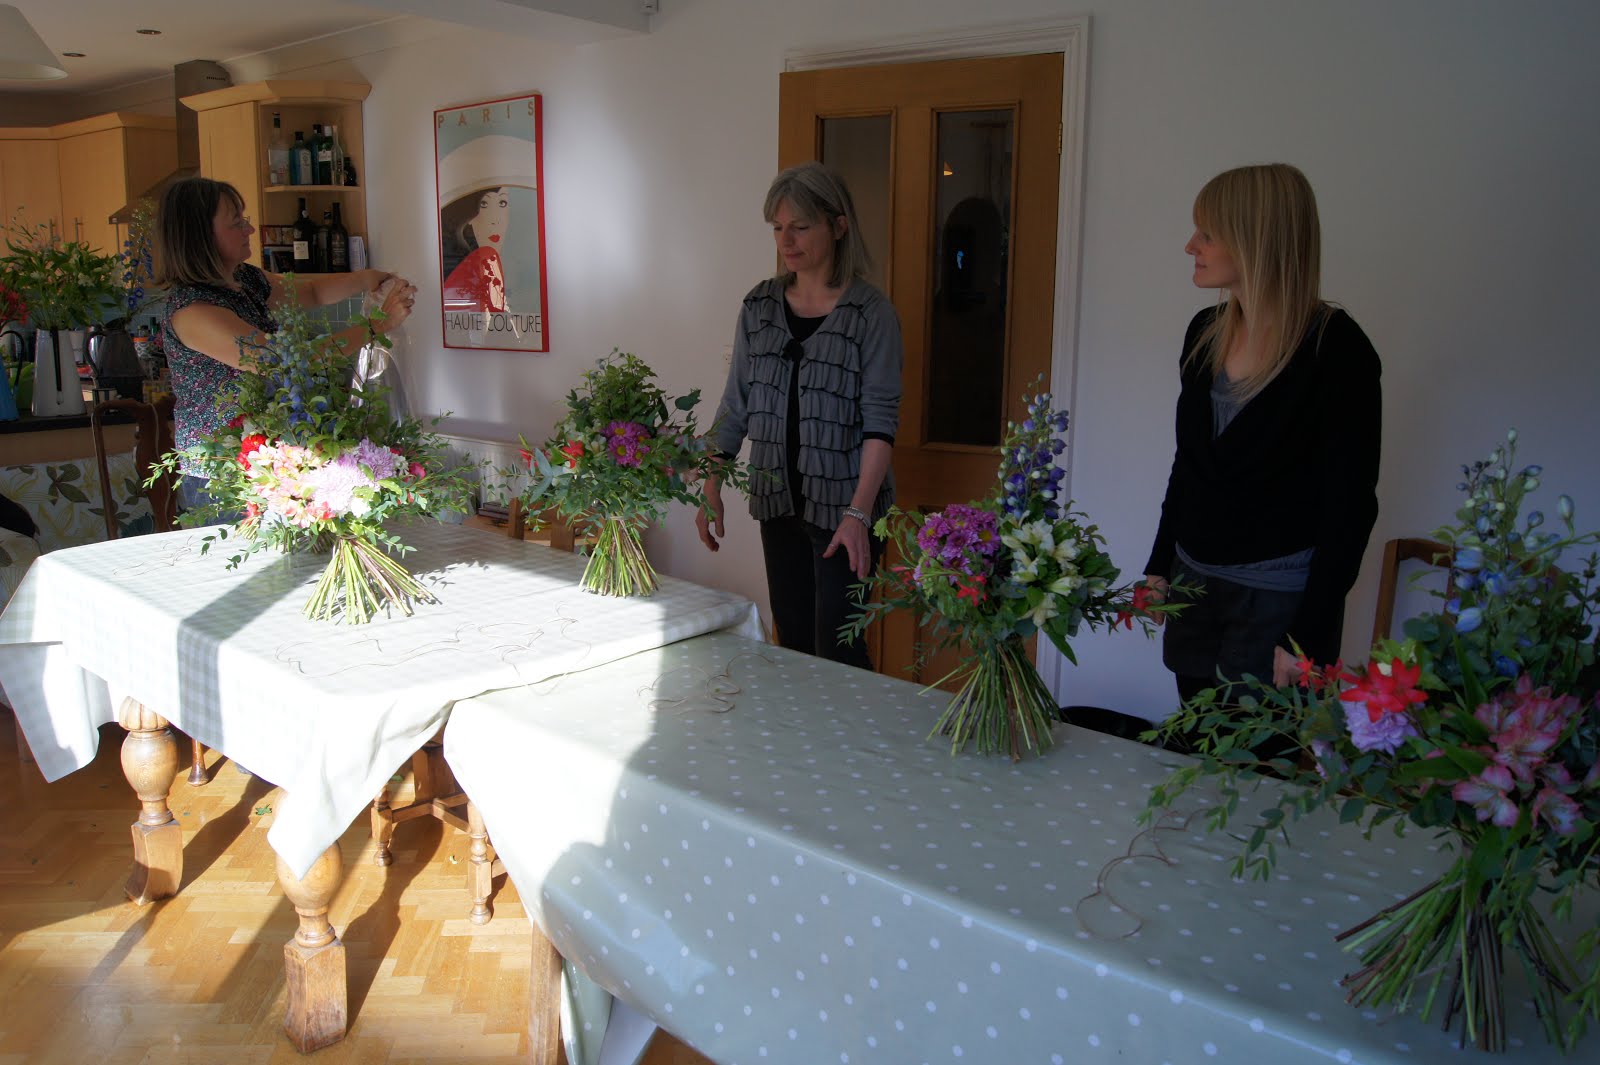
Here are Helen, Annie, Jessie and Ann at the end of the flower workshop with their wonderful bouquets presented in Meadowsweet gift boxes. This blog tells the story of what they made and how they did it. The story is told mainly in pictures. Jessie (second from the right) took the photos so you won`t see her again! Here is how it all started – the calm before the storm on a lovely sunny day in Sheffield in late October. The flowers and foliage in the buckets are the ingredients we used – gorgeous, seasonal English flowers.
Here I am showing everyone how to get to grips with foliage, and here they are preparing their pittosporum and eucalyptus (what a lovely smell).
Our task was to make a magnificent bouquet using groups of flowers. This is quite a difficult challenge, especially as most of the group had never done any flower arranging before. The first stage was to make six individual posies made of grouped flowers and foliage. The first posy was made with these fantastic delphiniums standing tall in their pomp! Here is everyone sorting out their flowers and a close up of Annie deep in concentration.
Next we made posies of chrysanthemums and of red dahlias. The red dahlias were especially striking. Again, you can see everyone working on their dahlias and then Annie doing a great job.
The next posies were made of alstroemeria – first pink and then white. Here is Ann calmly considering her developing posy, followed by a close up of the lovely white alstroemeria with a piece of cinerea eucalyptus.
The final posy was made with vibrant pink roses. Here is Helen putting hers together, followed by a close-up of the roses (everything and everyone was so obligingly photogenic – flowers and participants!).
The next stage was to get ready for constructing the bouquet. First you can see all six posies completed and resting in the bucket; and then all the posies set up on the table ready for action.
Then the last ingredients – string for tying the bouquet, parvifolia eucalyptus to add a soft edge to the bouquet and the final icing on the cake – these exquisite kaffir lilies to add as a final touch.
OK – hold the delphiniums firmly in your left hand.
And now start to add posies in a spiral…easy!
Have you ever seen such attentive workshop participants before?
Anne’s got it….beautiful.
And so have Annie and Helen.
Perhaps a bit of a tweak needed here….
And finally, all the bouquets are complete. Just look at what everyone has achieved.
The next step was to wrap the bouquets in cellophane and add water so that the flowers stay fresh while they are moved about or presented as a gift. First take some cellophane.
Place your bouquet in the middle.
And wrap it up.
Then pour in the water and place the bouquet in the gift box. Just gorgeous!
Jessie left her bouquet with me and here it is in my sitting room today - 10 days after the end of the workshop. It still looks fresh and vibrant. What a triumph for seasonal English flowers and for the skills of the workshop participants!
Subscribe to:
Posts (Atom)